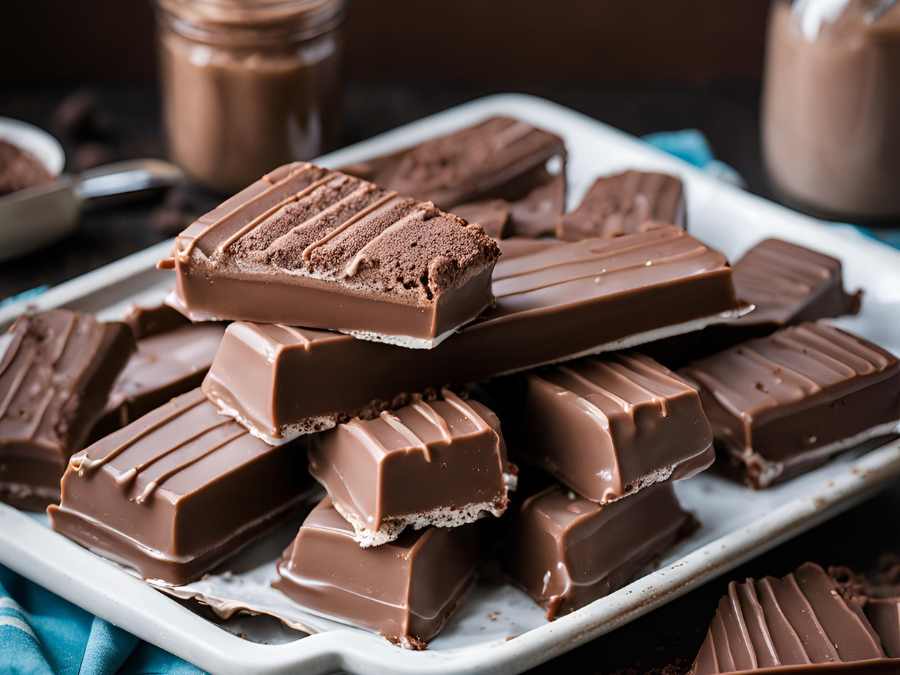
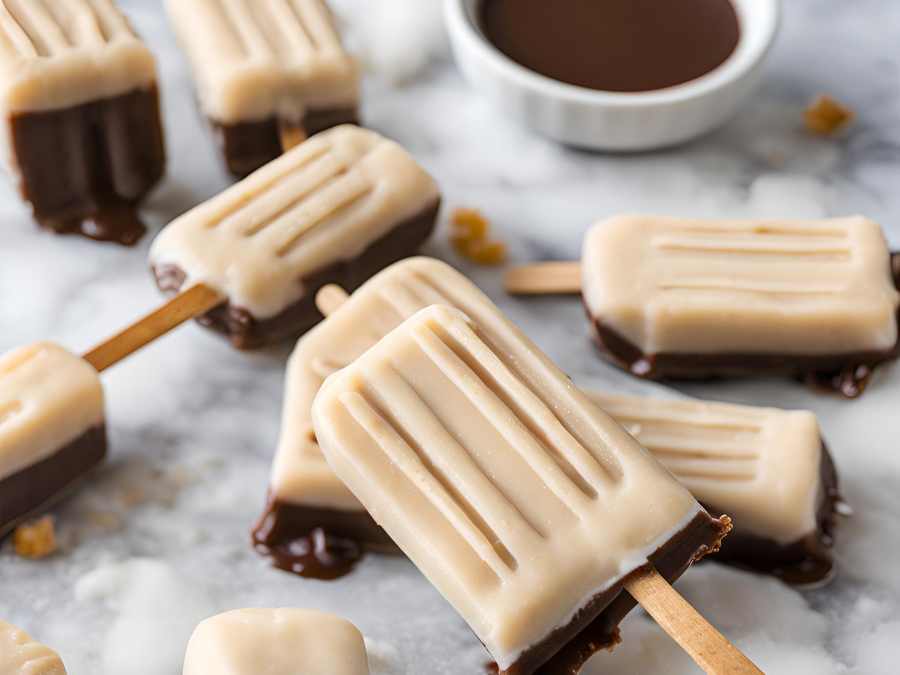
When the craving for a cool, chocolatey treat strikes, few things satisfy quite like an Eskimo Pie. These nostalgic, ice cream-filled chocolate popsicles are a classic dessert that brings back memories of summer fun and carefree days. Why not recreate that magic at home? With this simple recipe, you can make your own creamy, chocolate-covered Best Homemade Eskimo Pie Popsicle Recipe that are just as indulgent—if not better—than store-bought versions.
Why it is called Best Homemade Eskimo Pie Popsicle Recipe?
Store-bought Eskimo Pies are delicious, but making them at home has its perks:
- Customization: Choose your favorite ice cream flavors, coatings, or even add toppings.
- Healthier Options: Use quality ingredients, reduce sugar, or make them dairy-free.
- Fun to Make: It’s a great activity to do with kids, friends, or just as a creative project for yourself.
Homemade Eskimo Pie Popsicle Recipe

Ingredients:
For the Popsicles:
- 2 cups of your favorite ice cream (vanilla, chocolate, or any flavor you love)
- Popsicle molds or a small rectangular pan
- Popsicle sticks
For the Chocolate Coating:
- 1 ½ cups semi-sweet chocolate chips or dark chocolate
- 2 tablespoons coconut oil (for a smooth, shiny coating)
Optional Add-Ons:
- Crushed nuts
- Sprinkles
- Shredded coconut
- Sea salt flakes
Instructions:
- Prepare the Ice Cream Base:
- Soften the ice cream slightly by letting it sit at room temperature for about 5–10 minutes.
- Fill the popsicle molds with softened ice cream, smoothing the tops with a spoon.
- Insert a popsicle stick into each mold. If you don’t have molds, spread the ice cream evenly into a small rectangular pan, press popsicle sticks into the ice cream at intervals, and freeze.
- Freeze Until Firm:
- Place the filled molds (or pan) in the freezer and freeze for at least 4–6 hours or until completely firm.
- Make the Chocolate Coating:
- In a microwave-safe bowl, combine the chocolate chips and coconut oil. Heat in 30-second intervals, stirring after each, until smooth and fully melted. Alternatively, melt the chocolate using a double boiler.
- Release the Popsicles:
- Once the ice cream is frozen solid, carefully remove the popsicles from the molds. If you used a pan, slice the ice cream into individual bars around the popsicle sticks.
- Dip in Chocolate:
- Quickly dip each popsicle into the melted chocolate, using a spoon to ensure the entire surface is coated. The chocolate should harden almost instantly as it comes into contact with the frozen ice cream.
- Add Toppings (Optional):
- Before the chocolate sets completely, sprinkle the popsicles with crushed nuts, sprinkles, shredded coconut, or a pinch of sea salt.
- Freeze Again:
- Place the dipped popsicles on a parchment-lined baking sheet and return them to the freezer for about 15 minutes to ensure the coating is fully set.
- Enjoy:
- Your homemade Eskimo Pie popsicles are ready to be devoured! Store any extras in an airtight container in the freezer for up to 2 weeks.
Tips for Perfect Eskimo Pie Popsicles
- Work Quickly: The chocolate sets fast, so have all your tools and toppings ready before you start dipping.
- Experiment with Flavors: Try using flavored ice creams like mint chocolate chip, strawberry, or salted caramel for a twist.
- Double-Dip: For an extra thick chocolate shell, dip the popsicles twice, allowing the first layer to set before dipping again.
- Go Dairy-Free: Use coconut milk-based ice cream for a vegan-friendly version.
Why You’ll Love These Homemade Popsicles
- Customizable: From the ice cream to the toppings, you can make them uniquely yours.
- Fun to Make: A perfect activity to beat the heat and get creative.
- Deliciously Nostalgic: Enjoy a homemade treat that tastes like childhood summers, but even better.
Making Best Homemade Eskimo Pie Popsicle Recipe is a fun and rewarding way to enjoy this classic treat. Whether you stick with the traditional vanilla ice cream and chocolate shell or get adventurous with flavors and toppings, these popsicles are sure to delight kids and adults alike. So grab your ingredients and start crafting the coolest dessert of the season!

I am a passionate recipe developer and food enthusiast specializing in heart-warming traditional dishes and simple, everyday meals. My goal is to inspire you to find joy and confidence in the kitchen through my easy-to-follow recipes.
