Hey everyone, and welcome back to scooks.com! With the leaves turning and a little chill in the air, you know what that means… it’s officially spooky season! And I am so ready for it. If you’re anything like me, you’re on the hunt for fun, festive treats that don’t take all day to make. Well, you can stop your search right now, because I’ve got one of my all-time favorite easy Halloween desserts for you today: these absolutely adorable Mummy Brownie Bites!
These little guys are the perfect combination of rich, fudgy brownie and sweet white chocolate. They’re cute, they’re spooky (but not too spooky!), and they are ridiculously simple to whip up. Seriously. Whether you’re hosting a big Halloween bash or just want a fun project to do with the kids, these mummy brownies are a guaranteed winner. Ready to make the cutest treats on the block? Let’s get baking!
Why You’ll Love This Easy Halloween Dessert
There are so many reasons to fall in love with this recipe, but here are a few of my top ones. This is truly one of the best easy Halloween desserts you can make!
Incredibly Simple & Quick
We start with a boxed brownie mix to keep things super speedy and foolproof. There’s no fancy equipment needed, and the decorating is as simple as a little drizzle. You can have these ready in under an hour!
Adorable & Festive (Not Too Scary!)
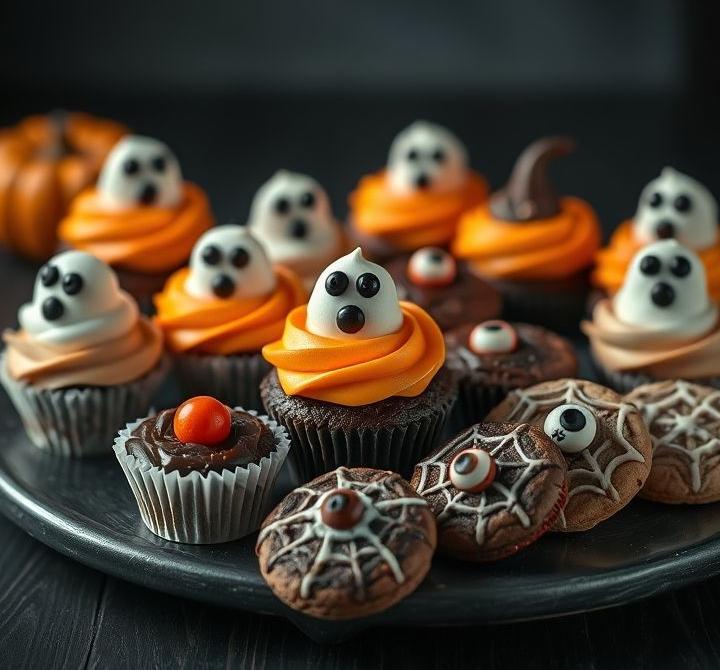
I mean, just look at them! The little candy eyeballs peeking out from the white chocolate “bandages” give them the perfect amount of spooky charm without being frightening for younger kids. They always get a ton of oohs and aahs at parties.
Perfectly Portioned for Parties
Bite-sized treats are always a hit! They’re easy for guests to grab and enjoy without needing a plate and fork. This makes them ideal for school parties, office potlucks, or your own Halloween get-together.
A Fun, Kid-Friendly Baking Project
This is the perfect recipe to get your little monsters involved in the kitchen! They can help mix the brownie batter, place the candy eyeballs, and even help with the white chocolate drizzle. It’s a wonderful way to make some sweet holiday memories.
Ingredient List
You only need a handful of simple ingredients to bring these spooky-cute mummies to life.
For the Brownie Bites:
- 1 box (18.3 oz) fudge brownie mix
- Required ingredients from box (typically eggs, vegetable oil, and water)
- Ingredient Note: I find that any brand of fudgy brownie mix works great here. If you have a favorite from-scratch fudgy brownie recipe, feel free to use that instead! Just bake it in an 8×8 inch pan so the brownies are nice and thick.
For the Mummy Decorations:
- 1 cup white candy melts or white chocolate chips
- 1 teaspoon coconut oil or shortening (this is optional but helps if you’re using chocolate chips to get a smoother consistency)
- Candy eyeballs (the small size works best!)
- Substitution Note: Don’t worry if you can’t find candy eyeballs! You can easily use mini chocolate chips (pointy side down) or a tiny dot of black decorating icing to make the eyes.
Step-by-Step Instructions
Let’s walk through how to make these little guys. It’s so simple, you’ll see!
Step 1: Bake the Brownies
First things first, preheat your oven and prepare an 8×8 inch baking pan according to the directions on your brownie mix box. I like to line mine with parchment paper, leaving a little overhang on the sides to act as handles. This makes it SO much easier to lift the brownies out later. Mix your brownie batter as directed and bake. Easy peasy.
Step 2: Cool and Cut the Brownies
This step is super important! You need to let the brownies cool completely. If you try to cut them while they’re still warm, they’ll just fall apart. Once they’re at room temperature, use the parchment paper handles to lift the whole slab out of the pan. Cut them into 16 small squares (a 4×4 grid).
Step 3: Melt the White Chocolate
You can do this one of two ways. My favorite method is to use a double boiler. If you don’t have one, just place a heat-safe bowl over a small pot of simmering water (don’t let the bowl touch the water!). Stir the candy melts or white chocolate chips until they’re smooth. You can also microwave them in a microwave-safe bowl in 30-second intervals, stirring between each one, until fully melted. If you’re using white chocolate chips, stir in the coconut oil or shortening to make it a bit thinner and perfect for drizzling.
Step 4: Decorate the Mummies
Now for the fun part! Place your brownie squares on a sheet of wax paper. Add a tiny dab of melted white chocolate to the back of two candy eyeballs and stick them onto a brownie bite. Then, pour the rest of your melted white chocolate into a small ziplock bag and snip off a tiny corner. Drizzle the chocolate back and forth over the brownies to create the mummy “bandages,” leaving the eyes peeking through. Repeat for all the brownies and let them set completely before serving.
Baker’s Tips for Success
Want to make sure your mummy brownies are absolutely perfect? Here are a few of my go-to tips.
For Perfect, Clean Cuts
Ever wondered how to get those perfectly clean edges on your brownies? The secret is to let them cool completely, or even pop them in the fridge for 30 minutes before cutting. I also love using a plastic knife—it works wonders and prevents the brownies from sticking!
The Secret to Smoothly Melted Chocolate
Be patient! When melting white chocolate, low and slow is the way to go. If you overheat it, it can seize up and become grainy. If you’re using the microwave, stick to short bursts and stir well. And whatever you do, don’t let any water get into your chocolate, as that will cause it to seize instantly.
Make it a Fun Family Activity
Set up a little decorating station! Give each kid a few brownie bites and let them place the eyes. Older kids can even try their hand at drizzling the white chocolate bandages. It might get a little messy, but that’s half the fun, right?
Storage Instructions
If you’re lucky enough to have leftovers, here’s how to store them.
At Room Temperature
Your mummy brownie bites will stay fresh in an airtight container at room temperature for up to 3 days.
In the Refrigerator
If you prefer a chewier, fudgier brownie, you can store them in an airtight container in the fridge for up to a week. Let them sit out for a few minutes before serving.
Freezing Your Brownie Bites
Yes, you can freeze them! Place the fully set brownies in a single layer in a freezer-safe container or bag. They’ll keep for up to 3 months. Just thaw them at room temperature before you’re ready to enjoy.
Your Questions Answered About These Easy Halloween Desserts
Here are some common questions I get about this recipe.
Can I make these brownies from scratch?
Absolutely! If you have a favorite fudgy brownie recipe, go for it. Just make sure you bake it in an 8×8 inch pan so the brownies are thick enough to look like little blocks.
What’s the best way to drizzle the chocolate without a piping bag?
A small ziplock bag is my go-to! Just spoon the melted chocolate inside, push it down to one corner, and snip off the tiniest bit of the tip. You can also just use a fork or a spoon to flick and drizzle the chocolate over the top for a more rustic look.
How far in advance can I make these for a Halloween party?
This is a great make-ahead treat! You can bake, cut, and decorate the brownies up to 2 days in advance. Just store them in an airtight container at room temperature until you’re ready to serve. It’s a lifesaver when you’re planning your party menu!
My white chocolate seized! What did I do wrong?
Oh no! This usually happens for one of two reasons: it was either overheated, or a tiny drop of water got into it. Unfortunately, once it seizes, there isn’t much you can do to save it for drizzling. It’s best to start over with a fresh batch and be extra careful.
Happy Halloween Baking
And there you have it! A super cute, incredibly delicious, and wonderfully simple treat that’s perfect for all your Halloween festivities. I really hope you and your family have as much fun making (and eating!) these as we do. It’s recipes like this that make the holiday season so special.
If you’re looking for more easy Halloween desserts, be sure to look around the site! But I have a feeling these Mummy Brownie Bites will become a new yearly tradition. Happy Halloween, everyone!
You Might Also Like…
Ready to serve up your spooky creations? Check out these other Halloween-themed posts for the perfect presentation:
Best Coffin Shaped Cheese Boards & Serving Trays: Top Gothic Picks
Best Spooky & Cool Halloween Ice Cube Molds: Skull & Brain Designs
Top Halloween Themed Serving Dishes & Platters
I am a passionate recipe developer and food enthusiast specializing in heart-warming traditional dishes and simple, everyday meals. My goal is to inspire you to find joy and confidence in the kitchen through my easy-to-follow recipes.