Hey there, fellow food lovers! It’s your friendly neighborhood blogger from scooks.com, and today, we’re diving headfirst into something truly magical: homemade hummus. Seriously, there’s just something about this creamy, dreamy spread that sings to your soul. Forget those store-bought tubs – while they’re convenient, they simply can’t hold a candle to the vibrant, fresh flavors you’ll achieve when you whip up your own batch from scratch. Trust me, it’s ridiculously easy, tastes infinitely better, and you’re about to discover your new favorite hummus recipe. Get ready to elevate your snack game, impress your friends, and maybe even find your new culinary superpower!
Why You’ll Love This Hummus Recipe
What’s not to love about a good batch of homemade hummus? This isn’t just any dip; it’s a game-changer! Here’s why this particular hummus recipe is about to become a staple in your kitchen:
- Unbeatable Freshness & Flavor: Homemade always, always wins. You’re in control of every single ingredient, which means a bright, zesty, and incredibly fresh taste that store-bought versions simply can’t touch. We’re talking pure deliciousness!
- Creamy Dreamy Texture: Our secret tips (oh, yes, we have secrets!) are your ticket to a silky-smooth, restaurant-quality hummus every single time. No gritty bits here, just pure, unadulterated creaminess.
- Health-Conscious & Wholesome: Packed with plant-based protein and fiber, it’s a guilt-free dip that truly nourishes your body. You’ll feel good about every single scoop!
- Incredibly Versatile: This isn’t just for pita bread! It’s perfect for dipping veggies, spreading on sandwiches, adding a luscious layer to grain bowls, or serving as the star of your next mezze platter. The possibilities are endless!
- Quick & Easy: You won’t believe how fast this comes together. With just a few simple steps and the magic of a food processor, you’ll have a fresh batch ready in under 15 minutes. Seriously, it’s that quick!
- Customizable: Want more garlic? A touch of spice? Different toppings? This hummus recipe is incredibly adaptable, letting you tailor the flavors exactly to your liking. Make it yours!
Detailed Ingredient List
Gather ’round, folks! Here’s what you’ll need to create your masterpiece. We’re keeping it simple, fresh, and oh-so-flavorful.
- 1 (15-ounce) can chickpeas (garbanzo beans): Make sure they’re drained and rinsed well. We want them sparkling clean!
- Substitution Note: While canned is super convenient (and what we’re mostly using today), you can absolutely cook 1 cup of dried chickpeas from scratch. Just soak them overnight, then boil them until they’re super, super tender. It’s a labor of love, but worth it if you have the time!
- 1/2 cup good quality tahini: (Sesame paste). This is non-negotiable for authentic hummus, so don’t skip it! Look for a brand that’s light in color with a smooth, pourable consistency. If it’s thick and pasty, it might be a bit old or lower quality.
- Substitution Note: Tahini is essential for authentic hummus. There’s truly no direct substitute for its unique nutty flavor and its magical ability to create that creamy, emulsified texture. Embrace the tahini!
- 1/4 cup fresh lemon juice: (That’s about 1-2 medium lemons). Fresh is best here, trust me, you’ll taste the difference!
- Substitution Note: Bottled lemon juice can be used in a pinch, but fresh provides the brightest, most vibrant flavor. Make the squeeze, you won’t regret it!
- 2-3 cloves garlic: Peeled and roughly chopped. Feel free to adjust this to your personal garlic preference. I’m a garlic lover, so I usually lean towards three!
- Substitution Note: If you’re really in a bind, 1/2 teaspoon garlic powder can be used, but fresh garlic offers a far superior, more nuanced flavor. Just sayin’!
- 1/2 teaspoon salt: Or, of course, more to taste. We’ll be tasting and adjusting, don’t worry!
- 1/4 cup ice water: Ah, the secret weapon! This is truly the key to ultra-creamy, fluffy hummus!
- Substitution Note: Regular cold water works, but the ice water really helps create a lighter, fluffier texture. It’s a small detail that makes a big difference!
- 2 tablespoons extra virgin olive oil: For drizzling generously over your finished hummus. It adds a beautiful sheen and rich flavor.
- Optional Garnishes: A pinch of paprika (smoked or sweet!), fresh chopped parsley, a sprinkle of za’atar, a few whole chickpeas for visual appeal, toasted pine nuts, or even a little drizzle of chili oil if you like a kick!
Step-by-Step Instructions
Alright, my friends, let’s get down to business! Follow these steps, and you’ll be enjoying the best homemade hummus in no time. It’s easier than you think!
- Prep the Chickpeas (Optional but Recommended): First things first, drain and rinse your canned chickpeas really well. Now, for the silkiest hummus of your life, here’s a pro tip: gently rub the chickpeas between your hands or with a clean kitchen towel to remove their skins. Yes, it takes a few extra minutes, but trust me, discarding those tiny skins makes a huge difference in texture! This step is totally optional, but highly, highly recommended for that restaurant-quality smoothness.
- Combine Tahini & Lemon: Grab your trusty food processor. First, add the good quality tahini and the fresh lemon juice. Now, process this mixture for 1-2 minutes until it magically lightens in color and thickens slightly. This little emulsion step is absolutely crucial for a smooth, airy texture and helps prevent any bitterness from the tahini. Don’t skip it!
- Add Garlic & Salt: Next, toss in your roughly chopped garlic and the salt to the tahini mixture. Process for another 30 seconds or so, just until everything is well combined and that garlic is nicely minced. Your kitchen’s probably starting to smell amazing right about now!
- Introduce Chickpeas: Now it’s time for our star ingredient! Add the prepared chickpeas (skinned, if you went for it!) to the food processor. Process for 2-3 minutes, making sure to scrape down the sides of the bowl as needed, until the mixture starts to look thick and relatively smooth. It’ll still be a bit chunky, but we’re getting there!
- Achieve Creaminess with Ice Water: Here’s where the magic truly happens! With the food processor running, slowly, slowly drizzle in the ice water, one tablespoon at a time. Watch as your hummus transforms! Continue adding until it reaches your desired creamy, dreamy consistency. You might not need all of it, or you might need a tiny bit more – it really depends on your tahini and chickpeas. Keep processing for another 2-3 minutes until it’s incredibly smooth, light, and almost fluffy. This is the secret to a luscious hummus recipe!
- Taste & Adjust: Stop the processor, grab a spoon, and taste your creation! This is your moment to shine. Adjust the seasonings as needed. Does it need a little more salt? A bit more zing from the lemon juice? Maybe even a tiny dash more tahini? Make it perfect for you!
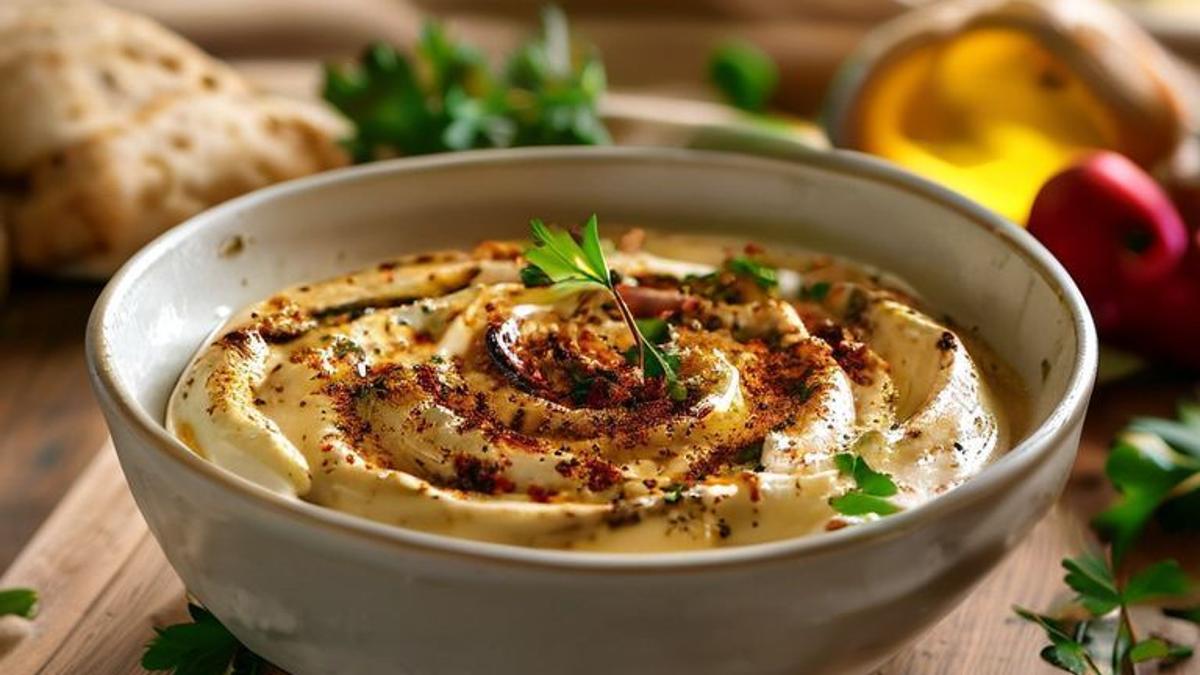
- Serve & Garnish: Transfer your glorious homemade hummus to a serving bowl. Using the back of a spoon, create a shallow well in the center – it’s perfect for holding that beautiful olive oil. Drizzle generously with extra virgin olive oil and then go wild with your desired garnishes! A sprinkle of paprika, fresh parsley, za’atar, or a few whole chickpeas make it look as good as it tastes. Serve it immediately and bask in the glory, or pop it in the fridge to chill for later.
Baker’s Tips / Pro Tips for Success
Want to make your hummus recipe truly legendary? These little nuggets of wisdom will take your homemade hummus from great to absolutely unforgettable!
- Peel Those Chickpeas! I know, I know, it sounds tedious, but removing the skins from the chickpeas is honestly the number one secret to achieving that ultra-smooth, velvety hummus texture you crave. It makes a significant, noticeable difference. Give it a try once, and you’ll be a convert!
- Quality Tahini is Key: Don’t skimp here! Invest in good quality tahini. It should be light in color, pourable (not thick and pasty), and have a mild, nutty flavor, never bitter. Good tahini makes good hummus!
- Don’t Skip the Tahini-Lemon Emulsion: That first step of processing the tahini and lemon juice together? It’s not just for show! It creates a light, airy base that prevents bitterness and ensures a perfectly smooth final product. It’s a tiny step with big impact.
- Ice Water is Your Friend: The cold water truly helps to lighten the hummus and create that desirable fluffy, airy texture. Add it slowly, tablespoon by tablespoon, until you reach your personal perfection. You’ll thank me later!
- Process, Process, Process: Don’t be afraid to let your food processor really work! Let it run for several minutes after adding all the ingredients. The longer it processes, the smoother, lighter, and creamier your hummus will become. Patience is a virtue here!
- Fresh is Best: While we offer substitutes, using fresh lemon juice and fresh garlic truly elevates the flavor profile of your hummus. It brightens everything up and adds an undeniable zing.
- Let it Rest: If you have the time, letting your finished hummus sit in the fridge for 30 minutes to an hour before serving allows all those wonderful flavors to meld and deepen. It’s like a flavor party in your fridge!
Storage Instructions
Made a big batch? Awesome! Here’s how to keep your delicious homemade hummus fresh and ready for snacking.
- Refrigeration: Store your homemade hummus in an airtight container in the refrigerator for up to 5-7 days. For the best results and to prevent it from drying out, I always recommend drizzling a thin layer of extra virgin olive oil over the top before sealing the container. It creates a protective barrier!
- Freezing: Yes, you absolutely can freeze hummus! Transfer it to an airtight, freezer-safe container, making sure to leave about 1/2 inch of headspace at the top (it might expand slightly). It can be frozen for up to 3-4 months. When you’re ready to enjoy it again, simply thaw it in the refrigerator overnight. Give it a good stir before serving, and you might find it needs a tiny splash of water or lemon juice to restore its original creamy consistency.
Frequently Asked Questions (FAQ)
Got questions? I’ve got answers! Let’s tackle some common queries about this amazing hummus recipe.
Q: Can I make this hummus recipe without tahini?
A: While you can make a chickpea dip without tahini, it wouldn’t be authentic hummus. Tahini is a fundamental ingredient that provides its characteristic nutty flavor, essential richness, and, crucially, helps create that unique emulsified, creamy texture we all love. It’s truly non-negotiable for a classic hummus recipe!
Q: Why is my homemade hummus bitter?
A: Bitterness can be a bummer, but it’s usually easily fixable! It can come from a few sources:
* Old or poor-quality tahini: Always use fresh, good-quality tahini. If it smells or tastes bitter straight from the jar, it’ll make your hummus bitter.
* Too much garlic: Raw garlic can be quite pungent. If you find your hummus too sharp, try reducing the amount next time.
* Skipping the tahini-lemon emulsion step: This step is crucial for balancing flavors and preventing bitterness from the tahini. Don’t skip it!
* Not enough lemon juice: Lemon juice is key for brightness and balancing all the flavors. Don’t be shy with it!
Q: How can I make my hummus extra smooth?
A: For the ultimate smooth hummus, here are my top tips:
* Peel your chickpeas (this is honestly the most impactful step!).
* Use ice water when blending.
* Process the tahini and lemon juice first to create that perfect emulsion.
* Let the food processor run for several minutes after adding all ingredients, until it’s completely smooth and light. Don’t rush it!
Q: What can I serve with this hummus recipe?
A: Oh, the possibilities are endless! Hummus is incredibly versatile! Serve it with:
* Warm pita bread or crispy pita chips
* Fresh cut vegetables like carrots, celery, cucumber slices, or vibrant bell peppers
* Your favorite crackers or a slice of crusty bread
* As a delicious spread in sandwiches, wraps, or falafel pitas
* Dolloped generously into grain bowls or fresh salads
* Alongside grilled meats or vegetables for a complete meal!
Q: Can I use dried chickpeas instead of canned?
A: Absolutely! Cooked-from-scratch chickpeas often yield an even better, slightly creamier texture. To do this, soak 1 cup of dried chickpeas overnight. The next day, rinse them well and boil them in plenty of water with a tiny pinch of baking soda (this helps soften them beautifully) until they are very, very tender – this usually takes about 1-2 hours. Drain them well and then proceed with our hummus recipe as instructed.
Conclusion
And there you have it, my friends – the ultimate hummus recipe that’s guaranteed to be a hit every single time! Ditch those store-bought containers and embrace the simple joy of making your own incredibly creamy, flavorful hummus right in your own kitchen. It’s a delicious, healthy, and satisfying snack or meal component that you’ll want to make again and again. Once you try this, you’ll never look back!
Did you try this recipe? We’d absolutely love to hear how it turned out for you! Share your creations, your favorite garnishes, or any feedback in the comments section below. Your kitchen adventures inspire us all! Happy dipping, everyone!
I am a passionate recipe developer and food enthusiast specializing in heart-warming traditional dishes and simple, everyday meals. My goal is to inspire you to find joy and confidence in the kitchen through my easy-to-follow recipes.