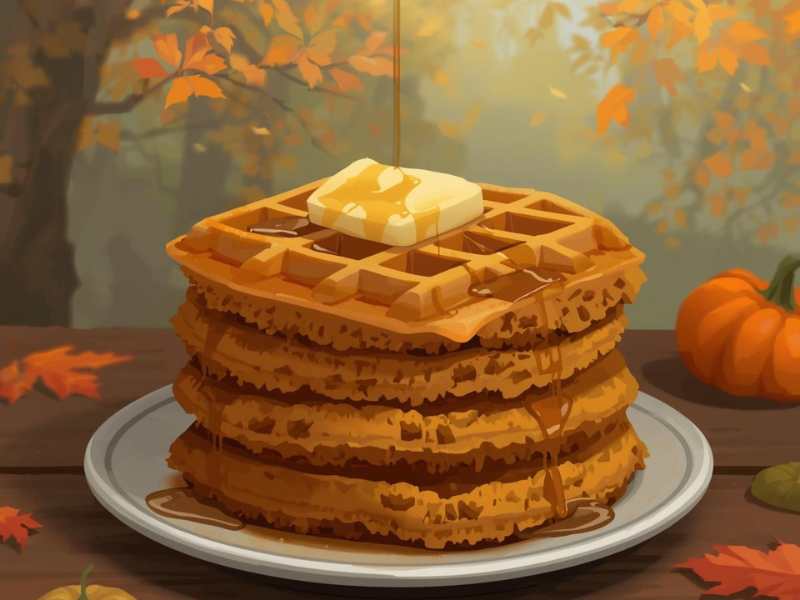
Your new favorite fall breakfast has arrived! Imagine waking up to the cozy scent of cinnamon and pumpkin spice filling your kitchen. It’s just the best, isn’t it? These pumpkin waffles are everything you dream of for an autumn morning: perfectly crispy on the outside, light and fluffy on the inside, and packed with warm, comforting pumpkin flavor. I’ve tweaked and tested this for years, and I can tell you, this is it. This easy-to-follow pumpkin waffle recipe uses simple pantry staples to create a truly special breakfast that’s perfect for a lazy Sunday or even Thanksgiving morning. Let’s get cooking!
Why You’ll Love This Recipe
Here’s why this will become your go-to pumpkin waffle recipe:
- Perfectly Spiced: We use a balanced blend of pumpkin pie spice to give these waffles a warm, cozy flavor that isn’t overpowering. It’s just right.
- Incredibly Fluffy & Crispy: Our secret technique of whipping the egg whites separately guarantees a light, airy interior and a perfectly crisp, golden-brown exterior. Seriously, don’t skip this step!
- Simple Pantry Ingredients: No fussy ingredients here! You probably have everything you need to make these right now. It’s so simple.
- Freezer-Friendly: This recipe is perfect for batch-prepping. I always make a double batch and freeze them for quick and delicious breakfasts all week long. It’s a lifesaver!
- The Ultimate Fall Breakfast: Nothing says “autumn” like pumpkin spice. This is truly the ultimate pumpkin waffle recipe to celebrate the season.
Ingredient List
For the best results, we recommend using the ingredients as listed. See our notes for easy substitutions!
Dry Ingredients:
- All-Purpose Flour: This provides the main structure for the waffles. You’ll need 1 ¾ cups.
- Substitution Note: A 1-to-1 gluten-free all-purpose flour blend (that includes xanthan gum) can be used for a gluten-free version.
- Brown Sugar & Granulated Sugar: A combination of both (2 tablespoons of each) adds moisture, a hint of molasses flavor, and helps with that beautiful browning.
- Baking Powder & Baking Soda: You’ll use 2 teaspoons of baking powder and ½ teaspoon of baking soda. The combination provides the perfect lift, making the waffles light and airy.
- Pumpkin Pie Spice: The star of the show! You’ll need 2 teaspoons.
- DIY Tip: If you don’t have pumpkin pie spice, don’t worry! Make your own by mixing 1 ½ tsp cinnamon, ½ tsp ginger, ½ tsp nutmeg, and ¼ tsp allspice or cloves.
- Salt: Just ½ teaspoon to balance the sweetness and enhance all the other flavors.
Wet Ingredients:
- Pumpkin Purée: 1 cup of this glorious stuff. Be sure to use 100% pure pumpkin purée, not pumpkin pie filling, which is pre-sweetened and spiced.
- Buttermilk: 1 ¼ cups. The acidity in buttermilk creates an incredibly tender and fluffy waffle.
- DIY Tip: No buttermilk? No problem! Make your own by adding 1 tablespoon of white vinegar or lemon juice to 1 ¼ cups of regular milk. Let it sit for 5-10 minutes before using.
- Large Eggs: You’ll need 2 large eggs. You’ll need to separate the yolks and whites. This is key to the recipe’s amazing texture!
- Unsalted Butter, melted: ½ cup (1 stick). This adds so much richness and flavor.
- Substitution Note: Melted coconut oil or a neutral vegetable oil can be used instead.
- Pure Vanilla Extract: 1 teaspoon for a touch of warm, background flavor.
Step-by-Step Instructions
Follow these simple steps for perfect pumpkin waffles every time.
Step 1: Prep & Mix Dry Ingredients
- First things first, preheat your waffle iron to its medium-high setting. You want it nice and hot!
- In a large mixing bowl, whisk together the all-purpose flour, brown sugar, granulated sugar, baking powder, baking soda, pumpkin pie spice, and salt. Give it a good whisk to get everything combined.
Step 2: Whisk the Wet Ingredients
- In a separate, medium-sized bowl, whisk together the pumpkin purée, buttermilk, egg yolks, melted butter, and vanilla extract until it’s smooth and fully combined.
Step 3: Combine Wet and Dry
- Now, pour the wet ingredient mixture into the bowl with the dry ingredients. Mix with a spatula until just combined. And I mean it! Do not overmix; a few lumps in the batter are perfectly fine and actually a good thing.
Step 4: Whip the Egg Whites
- In a clean, dry bowl, use an electric hand mixer or stand mixer to beat the egg whites on high speed until stiff peaks form. What does that mean? It means when you lift the beaters out of the whites, the peak that forms holds its shape without collapsing.
Step 5: Fold in the Egg Whites
- Gently fold the whipped egg whites into the waffle batter in two additions using a spatula. Be careful not to deflate all that beautiful air you just whipped into them. The final batter should be noticeably light and airy.
Step 6: Cook the Waffles
- Lightly grease your preheated waffle iron with non-stick spray or a little melted butter.
- Ladle the recommended amount of batter for your machine onto the center of the iron and close the lid.
- Cook for 4-6 minutes, or according to your waffle iron’s instructions, until the waffle is golden-brown and crisp. The steam will usually subside right when it’s done.
- Carefully remove the waffle and repeat with the remaining batter. Try not to eat them all as they come off the iron!
Baker’s Tips for Success
A few pro tips from my kitchen to yours to guarantee waffle perfection.
- Don’t Overmix the Batter: I know I said it before, but it’s so important! A few lumps are your friend. Overmixing develops gluten, which results in tough, chewy waffles instead of light, fluffy ones. We want fluffy!
- Whipping the Egg Whites is Worth It: Please don’t skip the step of separating and whipping the egg whites. This is the single most important trick for achieving that amazing crispy-on-the-outside, airy-on-the-inside texture that makes this pumpkin waffle recipe so special.
- Keep Waffles Warm & Crispy: To keep the first batch of waffles from getting soggy while you cook the rest, place them in a single layer on a wire rack set over a baking sheet in a 200°F (95°C) oven. This keeps them perfect.
- Start with a Hot Iron: A properly preheated waffle iron is essential for getting that initial sizzle that creates a crispy exterior and prevents the waffle from sticking. Patience is key!
Storage Instructions
Enjoy these pumpkin waffles now or save them for a busy morning!
- To Store: Allow waffles to cool completely to room temperature. This is crucial! Then, store them in an airtight container or a zip-top bag in the refrigerator for up to 4 days.
- To Freeze: For the best results, place cooled waffles in a single layer on a baking sheet and flash-freeze for about 30 minutes. Once they’re solid, you can transfer them to a freezer-safe bag. They will keep for up to 3 months.
- To Reheat: The best way to reheat these waffles is in a toaster or toaster oven until they are hot and crispy again. I beg you, avoid the microwave, as it will just make them soft and soggy.
Frequently Asked Questions (FAQ)
### Can I make this pumpkin waffle recipe dairy-free?
Yes! It’s super easy. To make these dairy-free, use a plant-based milk (like almond or soy) with a tablespoon of lemon juice or vinegar to create a vegan buttermilk. For the butter, simply substitute melted coconut oil or your favorite vegan butter. They’ll be just as delicious.
### What’s the best way to measure flour?
For the most accurate measurement, we recommend the “spoon and level” method. What’s that? You just use a spoon to scoop flour into your measuring cup until it is overflowing, then use the back of a knife to level it off. This prevents you from packing in too much flour, which can make the waffles dense.
### Can I add mix-ins like chocolate chips or nuts?
Absolutely! Are you kidding? Mini chocolate chips or chopped pecans would be divine in this recipe. I’d gently fold about ½ cup of your desired mix-in into the batter after you have folded in the egg whites.
### My waffles came out soft instead of crispy. What went wrong?
Oh, the dreaded soggy waffle! It’s usually caused by one of three things: 1) Your waffle iron wasn’t hot enough when you added the batter, 2) The batter was overmixed (see my tip above!), or 3) The finished waffles were stacked on a plate (which traps steam) instead of being placed on a wire rack to cool or stay warm.
Conclusion
There you have it—the perfect pumpkin waffle recipe to fill your home with the delicious, cozy aromas of fall. Whether you top them with a classic pat of butter and maple syrup or go all out with whipped cream and a sprinkle of cinnamon, these waffles are sure to be a hit with the whole family. We hope you love making (and eating!) them as much as we do here at scooks.com.
Happy Fall Baking!
I am a passionate recipe developer and food enthusiast specializing in heart-warming traditional dishes and simple, everyday meals. My goal is to inspire you to find joy and confidence in the kitchen through my easy-to-follow recipes.